- Read Tutorial
- Watch Guide Video
When you installed NPM and node, that gave you all the tools that you needed. However, in order to build out a full react application, there are a number of different dependencies and if you're just getting in to react development setting up your own system can actually be a little bit tricky because you have to know exactly the full list of dependencies that you need, what versions they have, and then when it comes to setting up your system to perform tasks such as deploying it then it starts to get even more complicated.
I don't want you to have to waste your time on configuration kinds of settings especially right in the beginning. I want you to be able to go right in the code and start having fun building out your projects and because of that, I spent the time before I started filming this course textually create an npm module just for this course. And so you can see it right here on the screen.

It's called the DevCamp JavaScript Project Builder and the reason why I call it that is because eventually I may add other types of projects such as view and I can use other frameworks. But for right now it does just have react projects and so I'll put this link in the show notes that if you come here this has the full set of commands that you need to run in order to get this going on your system.
So there are two different commands so you can run
npm install devcamp-js-builder -g
You may or may not need to put a sudo in front of it
sudo npm install devcamp-js-builder -g
I also had an instructor who was going through the course before I released it and making sure everything was working properly. He added that he had to put a -f flag at the very end to get it working.
sudo npm install devcamp-js-builder -g -f
They're going to run something like this and so I'm going to open up the terminal and then run it. And like I said you may need to put a sudo in front of it if you get a permission error, but simply run that and it's going to bring down the entire builder for you.
Now, I already have it on my system, so I don't need to reinstall it. After you've done that, here's how you can check to make sure that it is working. So I am going to be in whatever directory that I want to generate the program. So I'm on the desktop. But you can create a directory anywhere you want to keep all your projects and then also let's look back at the instruction. So right here all you have to do is type in js-generate and then this is going to give you the full list of options. I'm just going to copy this and right in the terminal here. Paste in js-generate and you can see that it asks you what project template would you like to generate and then you can pick out exactly what you want.

So we have three different options and whenever we build out a new project because we're going to be building out a number of them in this course. I'm always going to show you exactly which one to pick out but let's just make sure it's working.
So pick out that first one react-bootstrap and then it's going to ask you for your project name so I'm just gonna say TestingTemplater. You can call it anything you want we're just going to build this application and we're going to throw it away and then you to hit return and that's it.
Now if I cd into TestingTemplater you can see we now have a project now if I want to look at all of the various files that are in here I can do ls -la and your commands might be a little bit different. If you're doing this on a PC especially if you're not using power shell but that's simply going to show me the various files and folders that I have in here.

Now to get this working we are only a couple steps away so I can just type sudo npm install. You may only have to type in npm install if you don't get an error and hit return it will ask for a password and then it's going to go out to npm and what is happening right now is it goes to the npm registry.
It looks like one of the files that I created that lists out all of the different elements we want included and I will cover that later on in the course because it changes a little bit each time based on whatever project we're building out but what it's doing is it's going through it's finding the full list of dependencies that I said I wanted to bring in. It goes to npm and then it pulls them down into this one specific project and depending on your internet connection and different things like that that will determine how slow or fast this process works.
So I'm simply going to fast forward through this part of the video and will come back when all of these have been installed and then we can test it to make sure the application is running.
OK and its done and I had a little internet issue where it simply seemed like it was frozen. So in order to stop it on a mac, I hit command c and then I simply ran the command again once again.

I wanted to show that to you and so you could see any of the potential errors that you might run into and you will get a number of warnings and deprecation warnings and things like this. This does not mean that there was a problem if there was a problem you would see a red mark right here and it would say error because there are so many different code libraries that you bring in.

There's always going to be kind of a rotating set of dependency warnings and it's up to these developers who manage these such as like right here this babel-preset or jade. It's up to them to fix those most of the time and they're pretty good about responding to that.
So now I'm going to clear and if I type ls -la again. Now you're going to see that we have a new directory in our application called node modules.

And what is inside of there is the full list of dependencies. Whenever I run npm install it will go. It will find all those on the npm registry and then we'll place them inside of this directory so that I can call them whenever I need to.
So let's make sure that this is working properly. I'm going to switch to Visual Studio code here. Hit command O to open it up and you can see we have this directory open and this is going to open up this application. So these are all of the files that it generated

as we go through the course we're going to go into exactly what it built for us. But for right now let's just get started and make sure that it's working. I'm going to hit control and then Tilda(~) which is that little button right above tab. That's a way vs code allows you to open up the terminal.
Alternatively, if you're not using vs code or anything you can run the exact command right here in the terminal. Since we're in the directory so entering commands in the terminal is exactly the same as entering them in the VS Code terminal. If you're using VS Code it allows you to do all of your work all in one spot and that's part of the reason why I like it. So in order to get this running I just type in npm start and if everything installed properly this should be all we need. So it looks like everything compiled properly.

Let's switch to the browser and now go to localhost:8080 and it looks like that worked. So right here we have our application up and running.
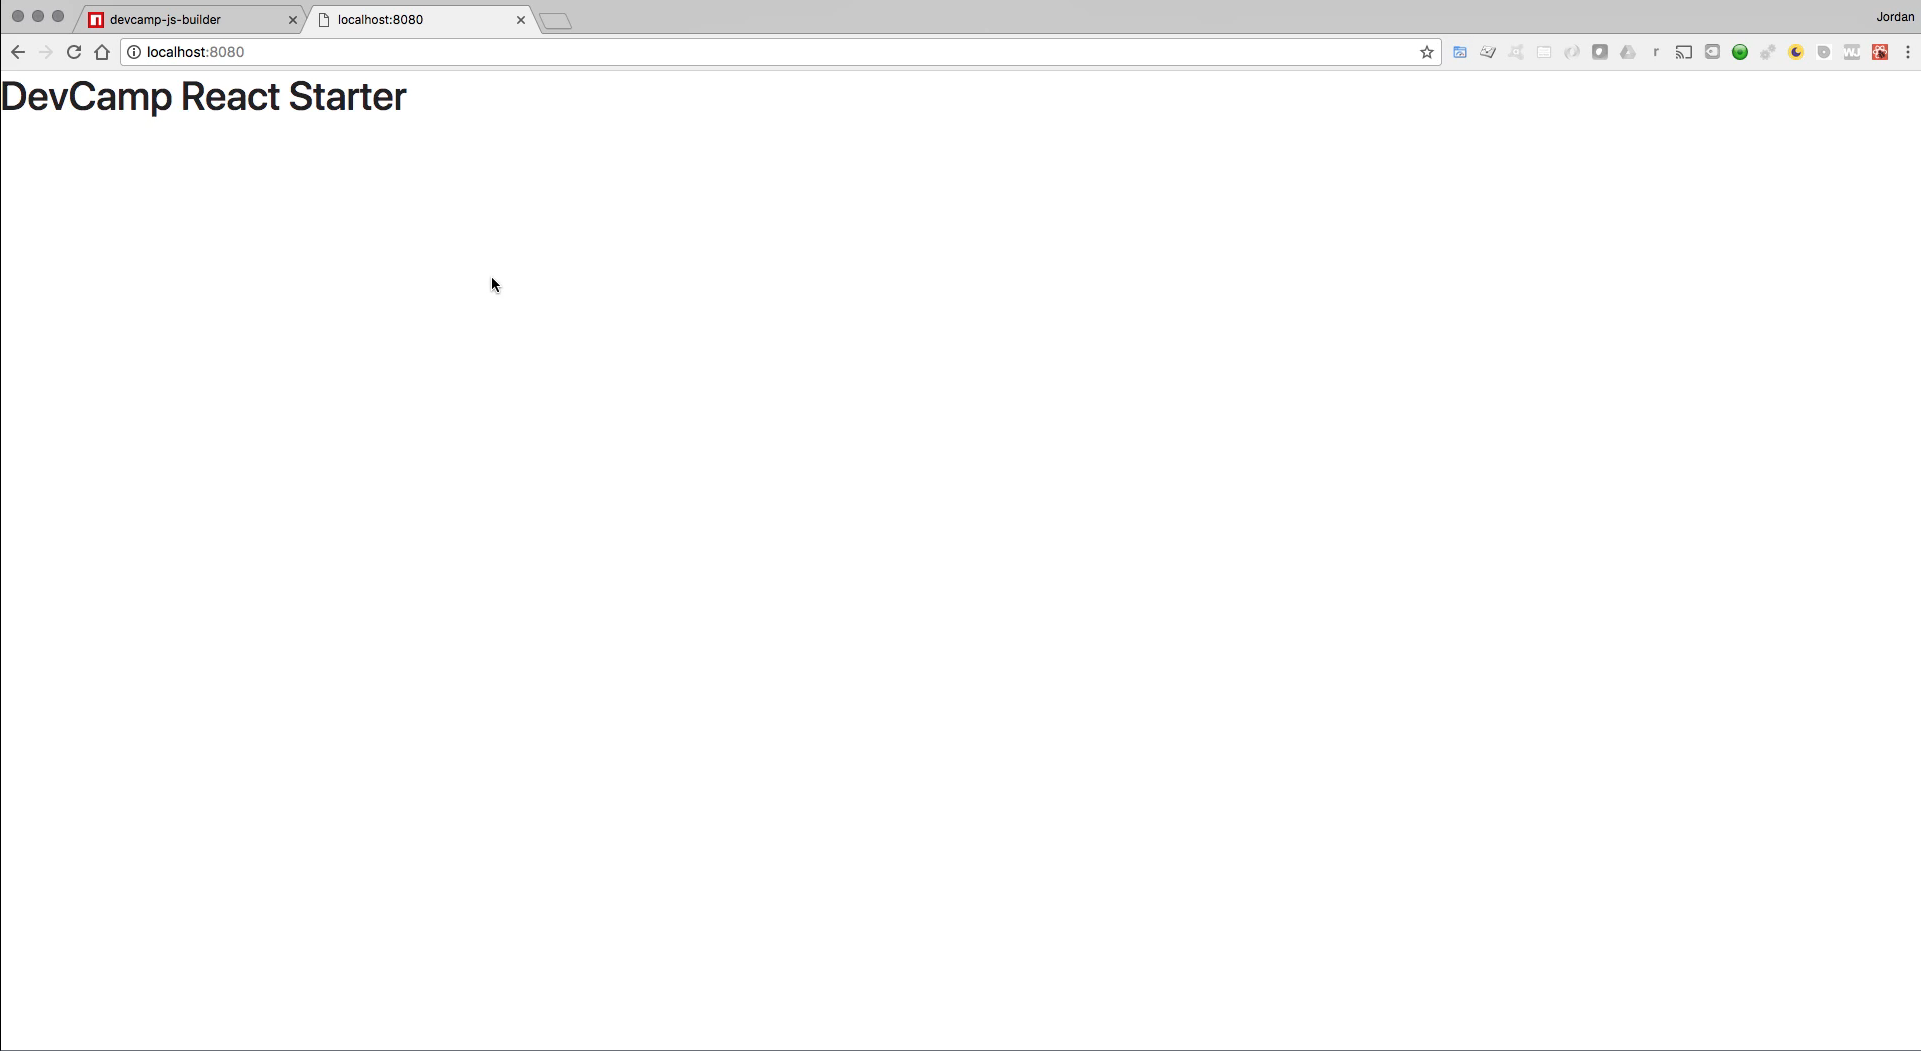
It's not very exciting yet, but it is running and that was with much less boilerplate code than many of the other tutorials and courses I've seen and so I wanted to give you a really fast and easy way to be able to start building your system.
To make sure this is working go into this src directory

You'll see all of these different files on the right there so if you come into src components and then app.js right here you can come and simply type in something new. So you can say My Test Application and then hit save.

I have a little Linter and that's a reason why it's throwing this red squiggly lines. It's one of the extensions that right now appears to be a little buggy, but we're not going to worry about it right now. I'm simply going to come back at refresh and you can see it as my test application.

So that is working properly and in between videos I'm going to go through my extension list and figure out exactly what's causing this conflict.
If you remember back when I was talking about text editors one of the things that I said you have to be careful with is that sometimes you will have extensions that will conflict with each other and that's exactly what it looks like is happening right here with the underlined red lines. So I'm going to go through remove it and I will also mention exactly what the fix was on that.
But that's all beside the point we have a fully functioning reactor application right here we have all of the different components we need to get started. We have a good base and we also incorporated a few little helpful tools. This already has the entire bootstrap type framework of the front end framework that is going to make it much easier to style our application because each one of the applications we're going to build they're going to have a very nice look and feel.
I brought on a designer that has built out beautiful designs for every one of the projects so that after you're done you're going to have something that you're actually proud of and that you want to show off to others.
So nice job if you went through that you now the ability to utilize our generator and be able to immediately launch a new react applications whenever you want to.