- Read Tutorial
- Watch Guide Video
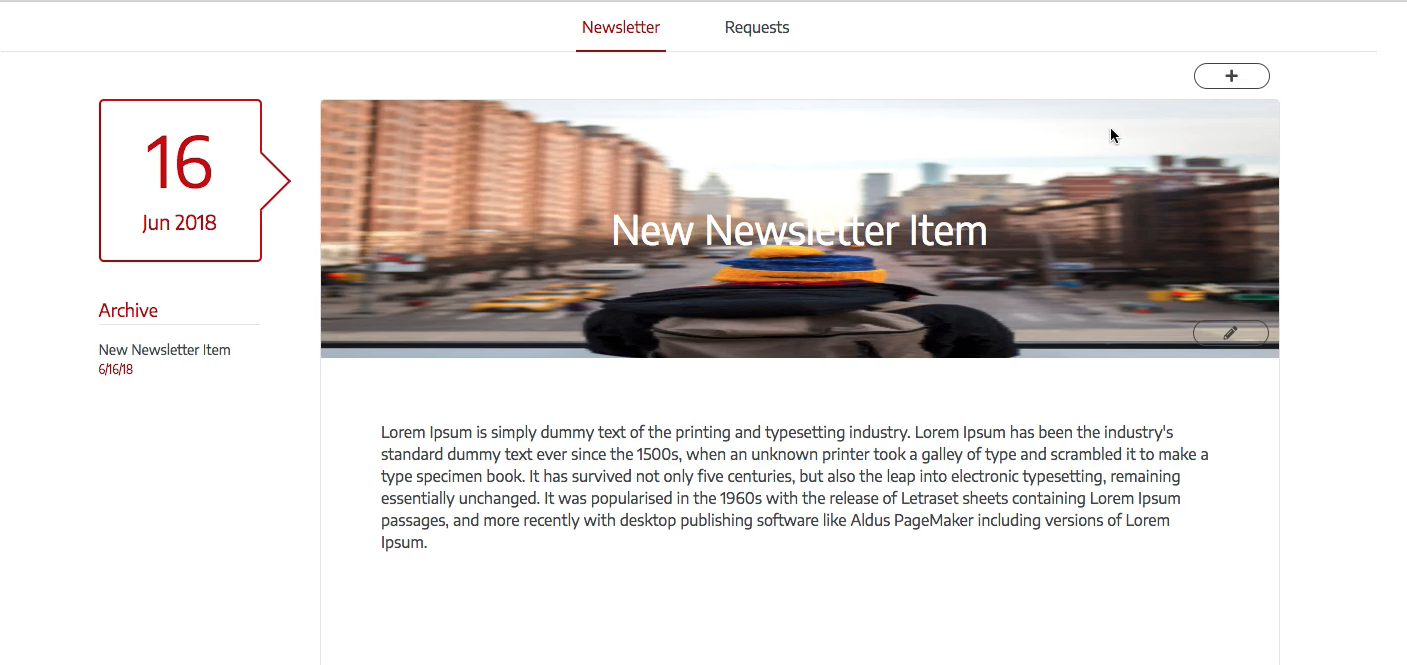
And the problem is that it's overflowing all over the place. Fortunately it is a pretty easy fix, all we have to do is go to our code, and let's go into newsletter-latest.scss and scroll down to the &__image one and all we have to add in here is a width of 100%, a height of 100%, and then two other properties, let's save that and see what that looks like.
latest.scss
$__image {
    grid-row: s/m;
    z-index: -10;
    width: 100%;
    height: 100%;
}
You'll see that it now contains it, which is nice, it looks kind of cool like that. But basically to fix this what we have to do is we have to say overflown, well first let's say object-fit: cover;. And that will make it have the correct aspect ratio now. All right, and that's all we have to do, I thought we had to add in one more property, but we don't.
Now that's how that works. Feel free to mess around with this object-fit and see what it does, it will maintain aspect ratio and see the whole image I'm pretty sure with contain. So that's how that works, but it kind of messes things up a bit.

Feel free to mess around with that and make things look the way you want, and yeah that's how you fix that. I'm going to do cover and leave it that way. Because I think it looks good. Okay, so that's how you do that. Let's go ahead and hit git status and commit our code and move on. So we'll get status, and then git diff just to see what we did.
Terminal
git status
git diff
git add .
git commit -m "contained image in parent container for newsletter latest component"
Now let's just go take a look at our thing here and see what we need to add in. So this description is working, we've got this title items in here, request is working, let's click on this archive and that it's working, we can edit it which seems to be good.
Basically what we need to do in the next video is, we need to actually have the editing working now that we've got this in here and we can type once and for all, that took a few videos, I didn't expect us to have to do that, but we have it working now.
Now this is also going to create a problem for requests component, editing, well we don't actually have to edit anything on the request component so that makes me happy. Let's just see if this is still working. Okay, it seems to be working. Let's click this, okay it moves it up there, so this is all working. New requests, let's just adding a new one, just to see if it's working, I'll take one of my pictures and throw it in there, okay sweet that's working.
Let's go to requests, this is going to be huge maybe. Okay, there's a problem there, it's the same problem where the picture is stretched out. Good thing we caught this in this video, let's go ahead and fix this problem by doing the same exact thing, except for in a different component. So what we're going to do is we're going to snatch these three lines the width, height, and object-fit here in our newsletter-latest.scss and we're going to go to our requestsItem.scss.
Let's come in here and we're going to go to image and we'll do the same thing so let's see where it is. Okay, &__img we basically just need to set the weight and hight to 100%.
requestsItem.scss
.item-description {
    margin-top: 1.4rem;
    margin-bottom: 2.2rem;
    $__img {
        object-fit: cover;
        width: 100%;
        height: 100%;
    }
}
Let's go try it out now, it shouldn't reload our application because it's just css, it should compile automatically. Okay, now that kind of looks good, except for clearly it's a little messed up.

So what we need to do is we need to go into this component's grid and see what's going on here. Okay, so let's see, item description. Okay, we're sitting in width to 100% on that. We just need to provide a grid here, we need to say grid template columns, and we'll say, we'll just say like I don't know how big it's supposed to be, let's say 150 pixels and 1fr. Then that's going to be the image so I'll say image start to image end and we'll just specify that one.
requests-item.scss
.item-description {
    display: grid;
    grid-column-gap: 4rem;
    grid-auto-flow: column;
    grid-template-columns: [image-s] 150px [image-e] 1fr;
}
So we'll go to the &__img now and just say grid column is image start to image and let's try that out.
requestsItem.scss
.item-description {
    margin-top: 1.4rem;
    margin-bottom: 2.2rem;
    $__img {
        grid-column: image-s/image-e;
        object-fit: cover;
        width: 100%;
        height: 100%;
    }
}
Okay, that looks better, it's a little too short though. Let's make sure that this item description has a sequence like, let's go add rows up here under .item-description and let's say grid template rows and we'll just say like 150 pixels or like 100 pixels and let's see how that looks, okay so that fixes that.
requests-item.scss
.item-description {
    display: grid;
    grid-column-gap: 4rem;
    grid-auto-flow: column;
    grid-template-columns: [image-s] 150px [image-e] 1fr;
    grid-template-rows: 100px;
}

It displays the image the size it should, actually very, way better than I thought I would and yeah everything looks good. Let's make one more request item with a big image and we'll see what it looks like. Okay, so I'll select a picture and I'll say my computer broke, just because it's a computer, even though this would never happen right. You'd never tell your landlord that your computer broke. Okay, let's go to requests and okay sweet, that's good.
Now let's just overview what we have to do, we have to do the editing, and then that should be good for the newsletter. Let's go commit our code more time.
Terminal
git status
git add .
git commit -m "fixed request item description image and added a grid to make it look real nice"
Okay now we're done with those images, let's go ahead and in the next video will handle that edit feature. I'll see you in the next video.