- Read Tutorial
- Watch Guide Video
Now we're gonna be following a process here that might be a little bit different than I would follow in a real world application, and the reason for that is because in order to break out a form component, like what we have right here with the login.
That means we are going to have, to have this entire card here as its own separate component and then the dashboard is going to have to know about the data in this child component and that requires learning a few more advanced concepts. So we are eventually going to do that, this course will follow best practices the entire way.
But I feel like it might be a little bit confusing if you've never seen the way that worked because you'd be learning two pretty challenging concepts at the same time, and so I would rather us take a more of a step by step approach for learning this to make sure that it really solidifies in how you understand it.
So I just want to add that as a little bit of a caveat so that you didn't think I was following some poor practices by putting all of this code directly in the dashboard component, we will turn it into its own later on. So let's switch back into this page, so you can see we still have all of our presentation component here and next what I want to do, is I want to start building out that form.
I'm gonna start with just the login form and that's how we're gonna learn about data binding. So I'm gonna open up the dashboard file here and inside of a new div, and eventually when we move this out into its own component, we'll be able to just cut this entire div into that component and then move it into its own file but for right now let's talk about how you can work with data inside of a view component.
So I'm gonna use two curly braces, and so this is gonna be a outside set of curly braces and an inside. Now this is the sin tax that you will use whenever you want to access data. So we first want to say, let's say that we're working with just a login like a email address.
So I can say email right here, now this will give us an error because this email doesn't come out of thin air. This is gonna have a direct connection between here and the java script code. So we need to come down into this data function, and so this is something that is provided directly from view. If you want to work with data inside of your component, then you have to store it here.
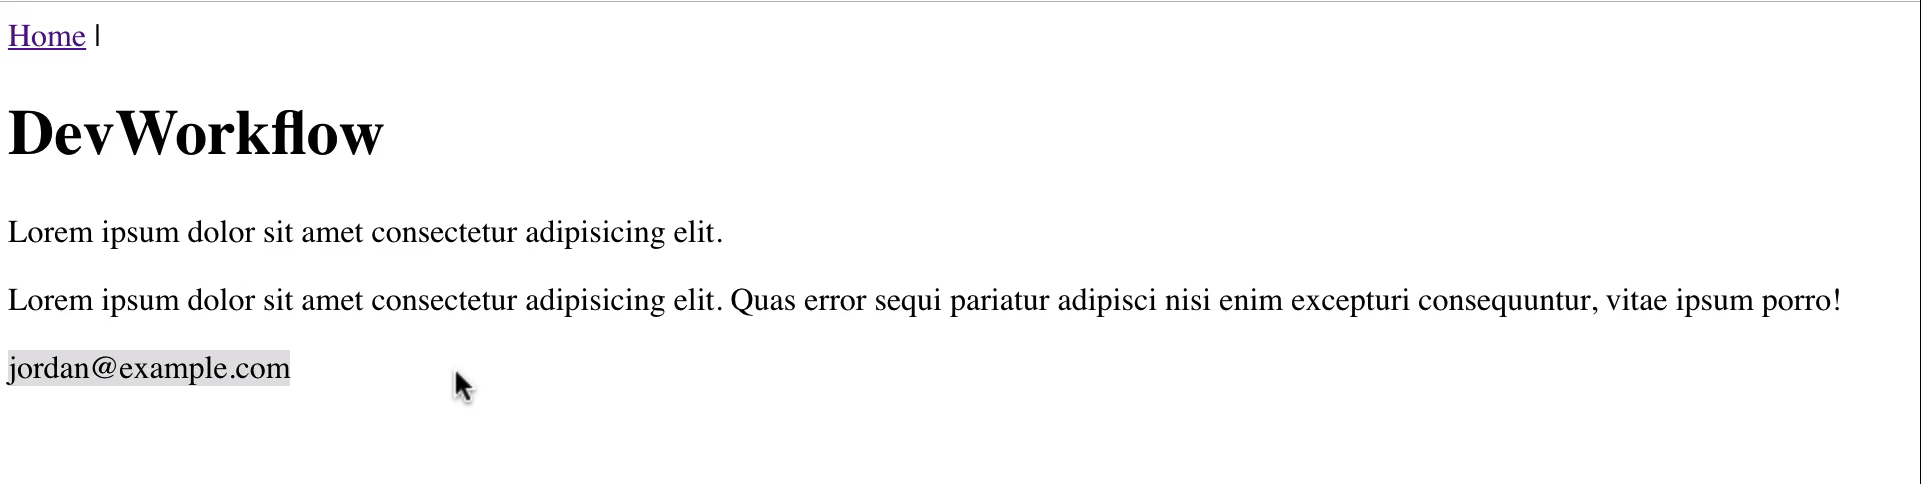
So inside of this data component it returns a list of all the items we want to have access to. So if I were to say email and then I just say this is jordan@example.com like this and hit save, and if you switch back here you can see that, that is now rendered out to the page.
So there is a direct mapping between this data function and what you can process in the view. So you can do this with as many items as you want, so I could say password and then inside of here we can just create another set of these double curly braces, say password, hit save,
data() {
  return {
    email: 'jordan@example.com',
    password: 'asdfasdf'
  }
}
<div>
  {{ email }} {{ password }}

</div>
and now you can see that, that is also located there.

So this is one way data binding. This is where we have data inside of this function, w just have it hard coded in. And then from in there it is rendered out in the template. Now that is helpful at certain times and we're gonna be using certain variations of this throughout the course but we want to see, because we're building a login component, we want to actually have live data. So how can we do that?
Well I'm going to start off by creating a form tag. So I'm gonna say, form and then for right now I'm just going to close off the form, we're not gonna do anything with it yet and then inside of here I'm going to put an input tag. So I'll say input, this is gonna be of type text and then the way that you can bind this is I can say v-model and we're gonna be talking about this a lot. Any time that you see v- that means that we're working with a custom view directive.
So we're saying that I want to connect to the data model for this component. So I'll say, v-model and now let's say what element we want to connect this to. So I'm gonna say, v and then model email, I'm going to come down here and instead of hard coding this value in I'm gonna get rid of that. I'm also gonna do the same thing here for the password, hit save and then let me actually output this as well.
So down below here I'll add a H2 tag and we're gonna call the email the same way that we did before. So hit save and now you can see that we have this input box. If I were to now say, jordan@example.com you see how the two items are connected.

So what we've just done is we've created two way data binding where we have the ability to render out data that the component is giving us and that is stored inside of the component. As you can see with the email right here and then we also have the ability to set that value.
So an input here has a direct connection to change whatever that data element is. So this could be anything that you want and the data model is gonna be constantly updated. So that's really cool and as you can see, especially if you've never worked with two way data binding like this before, this is some very cool stuff and you can build out all kinds of neat features just by doing what we did right here.
So now that we have that let's also add the password. So I'm gonna say, input type password and then this is gonna be connected to our password and then we can get rid of this H2 just like this. Hit save and let me just make sure, yes we do have a password data value here and now you can see that if I say, jordan@example.com and then you can see that this is now working as a actual password, the same way you'd expect the normal type of email and password to work for a login form.
So that's all that we need to do in order to build out a very basic form and also to have access to set and get the data inside of a view component.